If you want to deploy your existing ASP.NET Web Application to a Windows Azure website, it is a relatively easy process:
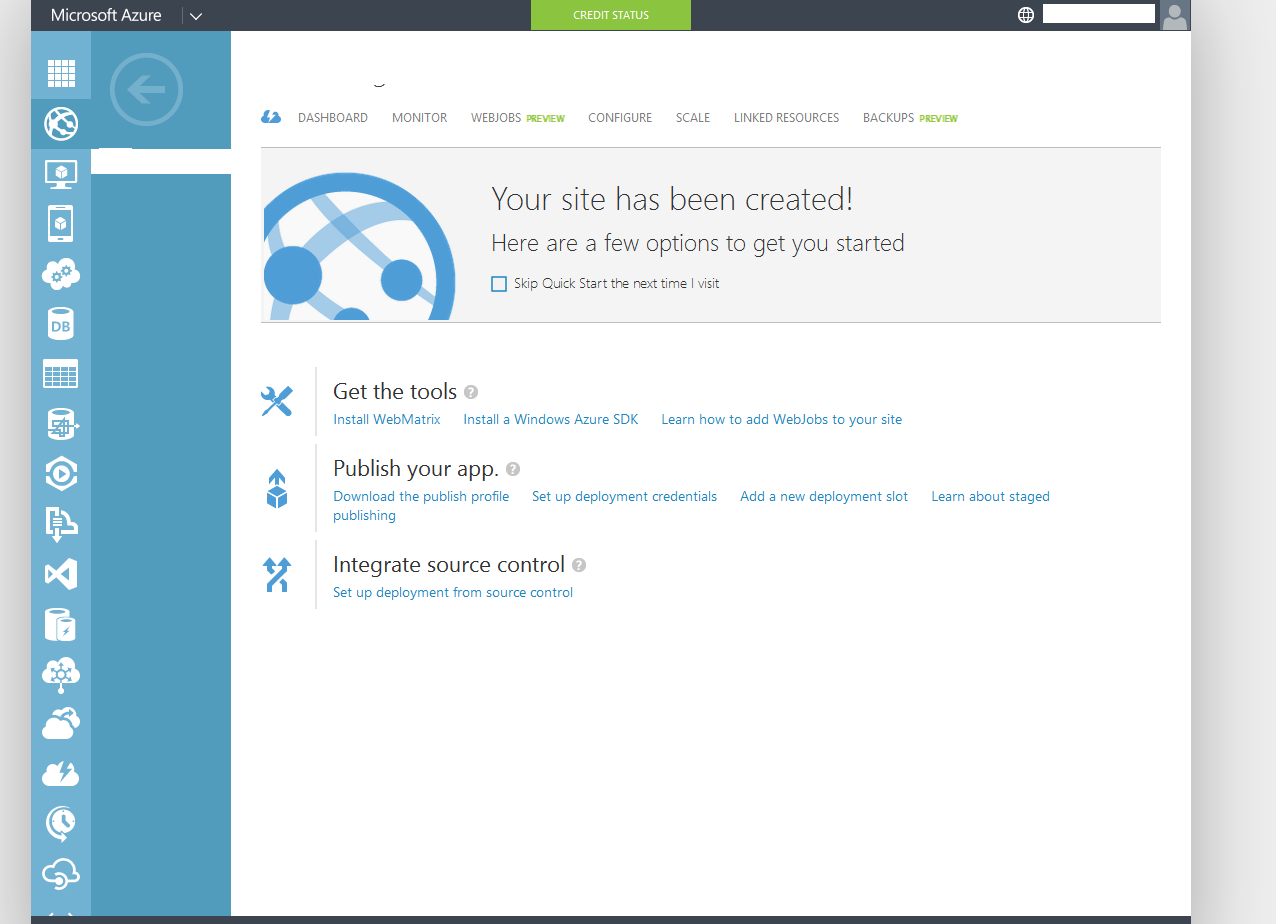
From your Windows Azure website, you will want to "Download the publish profile"

Now, you can right click on your Visual Studio Web Application project and select Publish:


Since you already have your Publish Profile, you can simply import it by specifying the Import option:


If you are publishing your website and need to point to another database such as a SQL Azure database, you can change the connection string in the dialog below and select the option: "Use this connection string at runtime (update destination web.config)"


If all goes well, you will have published your web application to a Windows Azure website!!
From your Windows Azure website, you will want to "Download the publish profile"
Since you already have your Publish Profile, you can simply import it by specifying the Import option:
If you are publishing your website and need to point to another database such as a SQL Azure database, you can change the connection string in the dialog below and select the option: "Use this connection string at runtime (update destination web.config)"
If all goes well, you will have published your web application to a Windows Azure website!!
No comments:
Post a Comment